The internet's most detailed step-by-step guide on how to wax a jacket
- Mr. Darcy Downpour

- Dec 4, 2025
- 5 min read
Updated: Dec 30, 2025
Congratulations. You've just stumbled upon the most comprehensive and most detailed step-by-step guide for waxing your wax jacket. I'm going to walk you through every single detail of how best to wax your jacket, because there are quite a few particulars that seem to be conspicuously absent from the multitude of videos populating YouTube.

This is perhaps largely because the average YouTube viewer appears to have an attention span of approximately thirty seconds. And for this guide, I'll claim 5 minutes of your time. Let us sett off.
Preparation
By preparation, I mean getting your jacket ready to be waxed. First, give your jacket a thorough clean. And by that, I mean ensuring that any mud, dust, lint, and other miscellaneous fluff are removed from the jacket's surface. For this, you'll want to use a soft brush, ideally one made from horsehair. Should you encounter any particularly stubborn marks on your jacket, you can use a clean, damp cloth or carefully treat them with cold water or a specialist cleaner designed for waxed cotton. But absolutely do not use soap or other detergents, as these can damage the original wax coating.
Now, it's crucial that you allow your jacket to dry properly. Hang it on a coat hanger and leave it for a few hours in a warm room. Don't lay it on a radiator or other heating elements, mind you.
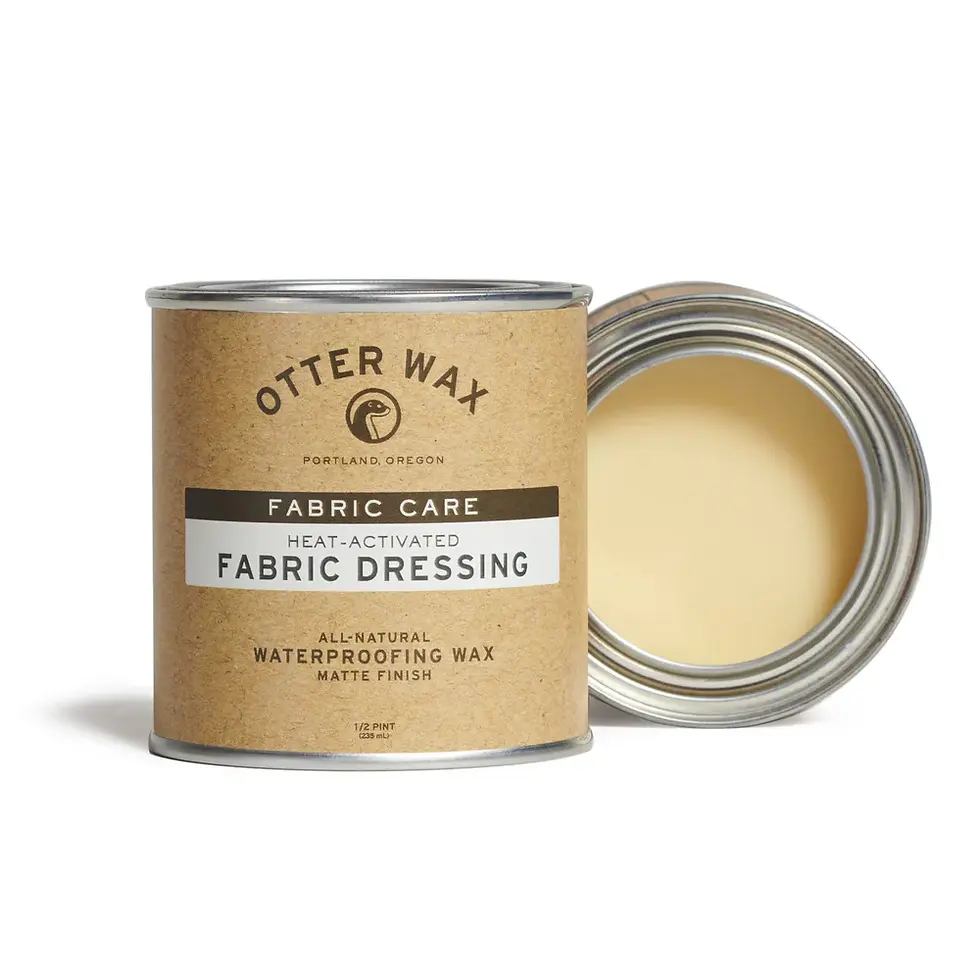
Halfway through the drying process, you can begin warming your wax, as this can take quite a while. To warm and melt the wax, I use the bain-marie method. This means you heat a pan of water and place the tin of wax inside it with the lid taken off. Bring the water to the boil very slowly. This way, you prevent the wax from exceeding 100 degrees and catching fire, which can happen if you heat the wax with direct heat. So never do that.
Once the jacket is dry, lay it flat on a sturdy, clean surface where you can work comfortably. This prevents creases and ensures an even wax application. I typically use a large piece of cardboard to protect my kitchen table from any wax. Which brings me to my next point: it's advisable to wax your jacket in a well-ventilated space. Your kitchen is usually ideal for this, as you're very likely to have an extractor fan there, which you might want to have running.
Applying the wax
Now we get to the fun part of this step-by-step guide on how to wax a jacket. When your jacket is laid out ready and your wax has melted, you first need to warm the jacket in the areas where you'll initially be applying the wax. For this, a heat gun is by far the best tool. A heat gun gives you much better control over both the amount and consistency of heat, unlike a hairdryer. It's important to know that you shouldn't use temperatures exceeding 150 degrees celsius, and you mustn't hold the heat source too close to the cotton of your jacket as you don't want to damage the cotton nor overheat the wax. Warming your jacket ensures that the wax remains nicely fluid and doesn't immediately begin to solidify when you apply it. This prevents wax from building up and saves you from having to wipe away excess later.
Use a paintbrush with horsehair bristles to apply your wax. I specify horsehair because it won't melt when you're simultaneously wielding the heat gun and melting the wax into the jacket. You can, alternatively, choose to apply the wax first and then melt it into the cotton with your heat gun afterwards. That's entirely up to you. Make sure you keep the wax fluid to facilitate its application. Ensure you provide all parts of your jacket with a bit of wax, paying particular attention to the seams and where the press studs are located, as water has a greater chance of penetrating the cotton in these areas. Perhaps it's stating the obvious, but you only wax the cotton parts of your jacket. That lovely corduroy collar you'll leave well alone.

I apply the wax section after section. To maintain an overview, it can be helpful to apply the wax section by section. First the sleeves, then the shoulders, front, back, and top. Next, all the pockets. Then you can tackle the final, somewhat larger sections.
You may find yourself making all sorts of streaks with your brush, and here and there more wax will have been applied than on other parts. That's perfectly fine, because now you're going to set to work with your heat gun to melt the wax into the jacket, and in doing so, all these irregularities will disappear. As I mentioned earlier, ensure your heat gun isn't too hot, I'd say 150 degrees celsius maximum. However, it may be that your heat gun can only be set to 200 degrees celsius. If this is the case, simply keep the heat source at a reasonable distance. You'll see soon enough when your wax is warm—it quickly becomes thinner and will start to run somewhat across the surface of your jacket. There may be a bit too much wax here and there, but we'll sort that out later.
Dealing with excess
Once you've melted the wax into the cotton, it's perhaps time for a glass of water and a brief pause. It's perfectly fine to let your jacket cool down for a bit. Then it's worth inspecting your jacket for any surplus wax. You'll see and feel this readily enough. Does it feel terribly greasy? Then there's probably slightly too much wax. You can remedy this by warming the wax with your heat gun in the spots where you suspect too much has been applied. Then use a piece of cotton to wipe it away. For this, tear up an old T-shirt you're no longer wearing anyway, or perhaps use a tea towel. It's also a good idea to warm the press studs and give them a clean. This prevents you from later getting greasy wax on your fingers and subsequently smearing it across your phone screen.
The grand-finals of this step-by-step guide on how to wax a jacket: after-care
Once the waxing is complete, allow the jacket to cool and dry naturally overnight at room temperature. This enables the wax to fully harden and bond with the fabric. It's important that your jacket hangs in a well-ventilated room. I'd imagine the bathroom might be a good choice, it's often warm there, and there's little dust about.
The following day, you might consider using a soft brush to lightly 'brush up' the jacket. Any unevenness in the wax layer can be worked away like this. This is something I personally never actually do, but perhaps you're rather more of a perfectionist than I am.
Wait at least twenty-four hours before putting on your jacket and heading outdoors. It's important that the wax properly adheres to the fibres of the cotton.
I do hope this description has set you on the right path. Should you have any questions, feedback, or need any other tips, do send me a message on Instagram. If we happen to be in the same time zone, I generally respond within the hour. If not, I'll answer as soon as the sun rises over Norway.
Best of luck,
Darcy